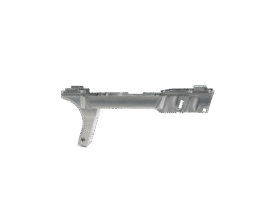
How to finish a G80 Unfinished Receiver using the G80 Polymer Jig, a rotary tool and a hand drill. These are the instructions that ship in the box.
In the box
1x G80 Polymer Jig, left and right bodies
2x Steel dowel pins
3x Hex nuts
3x #8-32 screws
1x 3mm rotary tool collet
1x #21 high speed steel drill bit
1x #31 high speed steel drill bit
1x Blue corundum grinding drum
1x Blue corundum grinding cone
1x Allen key
You supply
1x Rotary tool / Dremel
1x Power drill, variable speed and reversible
1x Eye protection
1x Ear protection
1x Lubricant (gun oil, drill bit lube, or WD-40)
1x Clean rag
1x Fine grit sandpaper
1x G19 Gen 3 Slide Kit
1x G19 Gen 3 Frame Kit
01
Lay out the kit
If the jig arrived assembled on a receiver, pull the two bodies off the receiver first. Lay out every piece from the list above so you can see it before you start cutting.
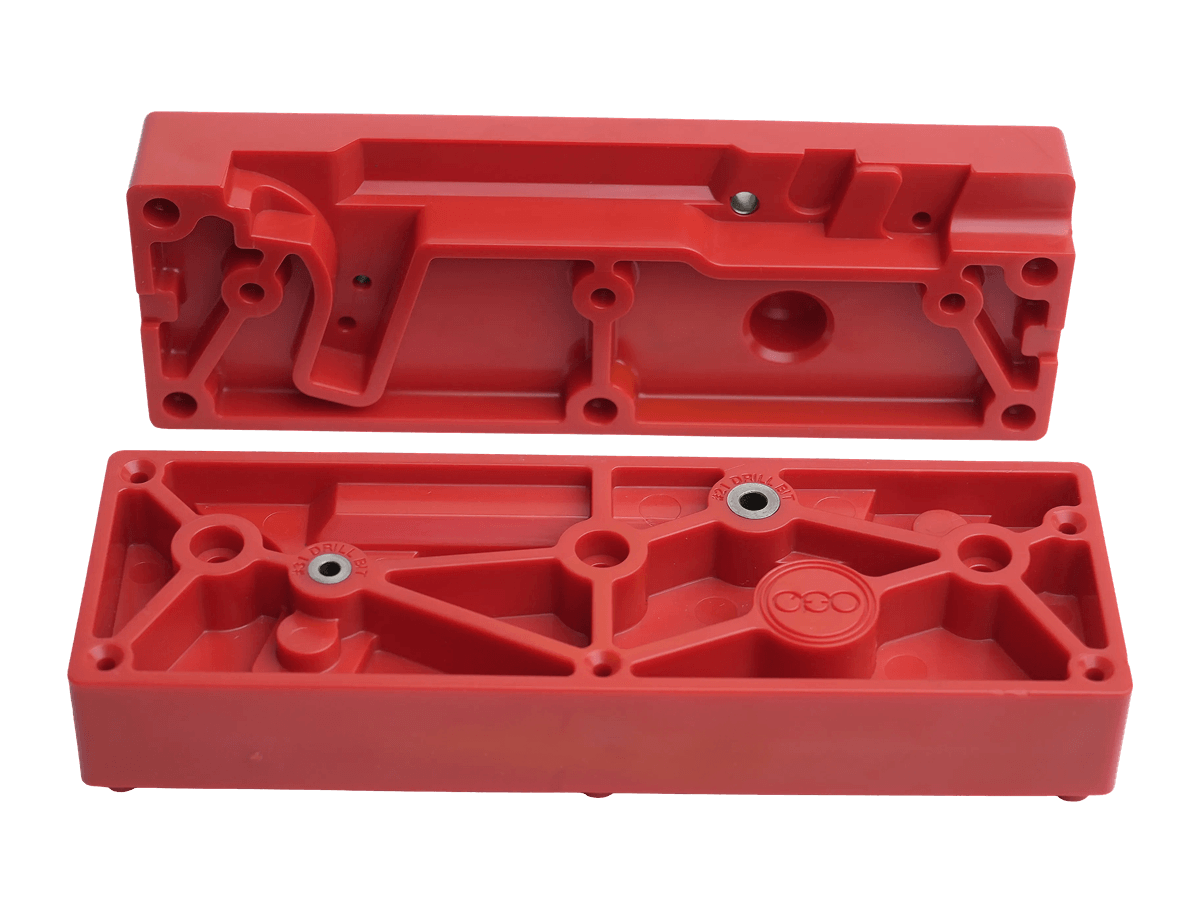
The two jig bodies. Steel bushings on the labeled half guide the #21 and #31 bits.
02
Mount the receiver
Seat the receiver in one jig body.
Insert the steel dowel pins into the receiver’s pre-drilled holes.
Mate the other jig body to the receiver so the two halves close around it.
Drop the hex nuts into the slots on the nut-slot side.
Run the three #8-32 screws through the jig and into those nuts. Tighten with the Allen key until both bodies sit flush.
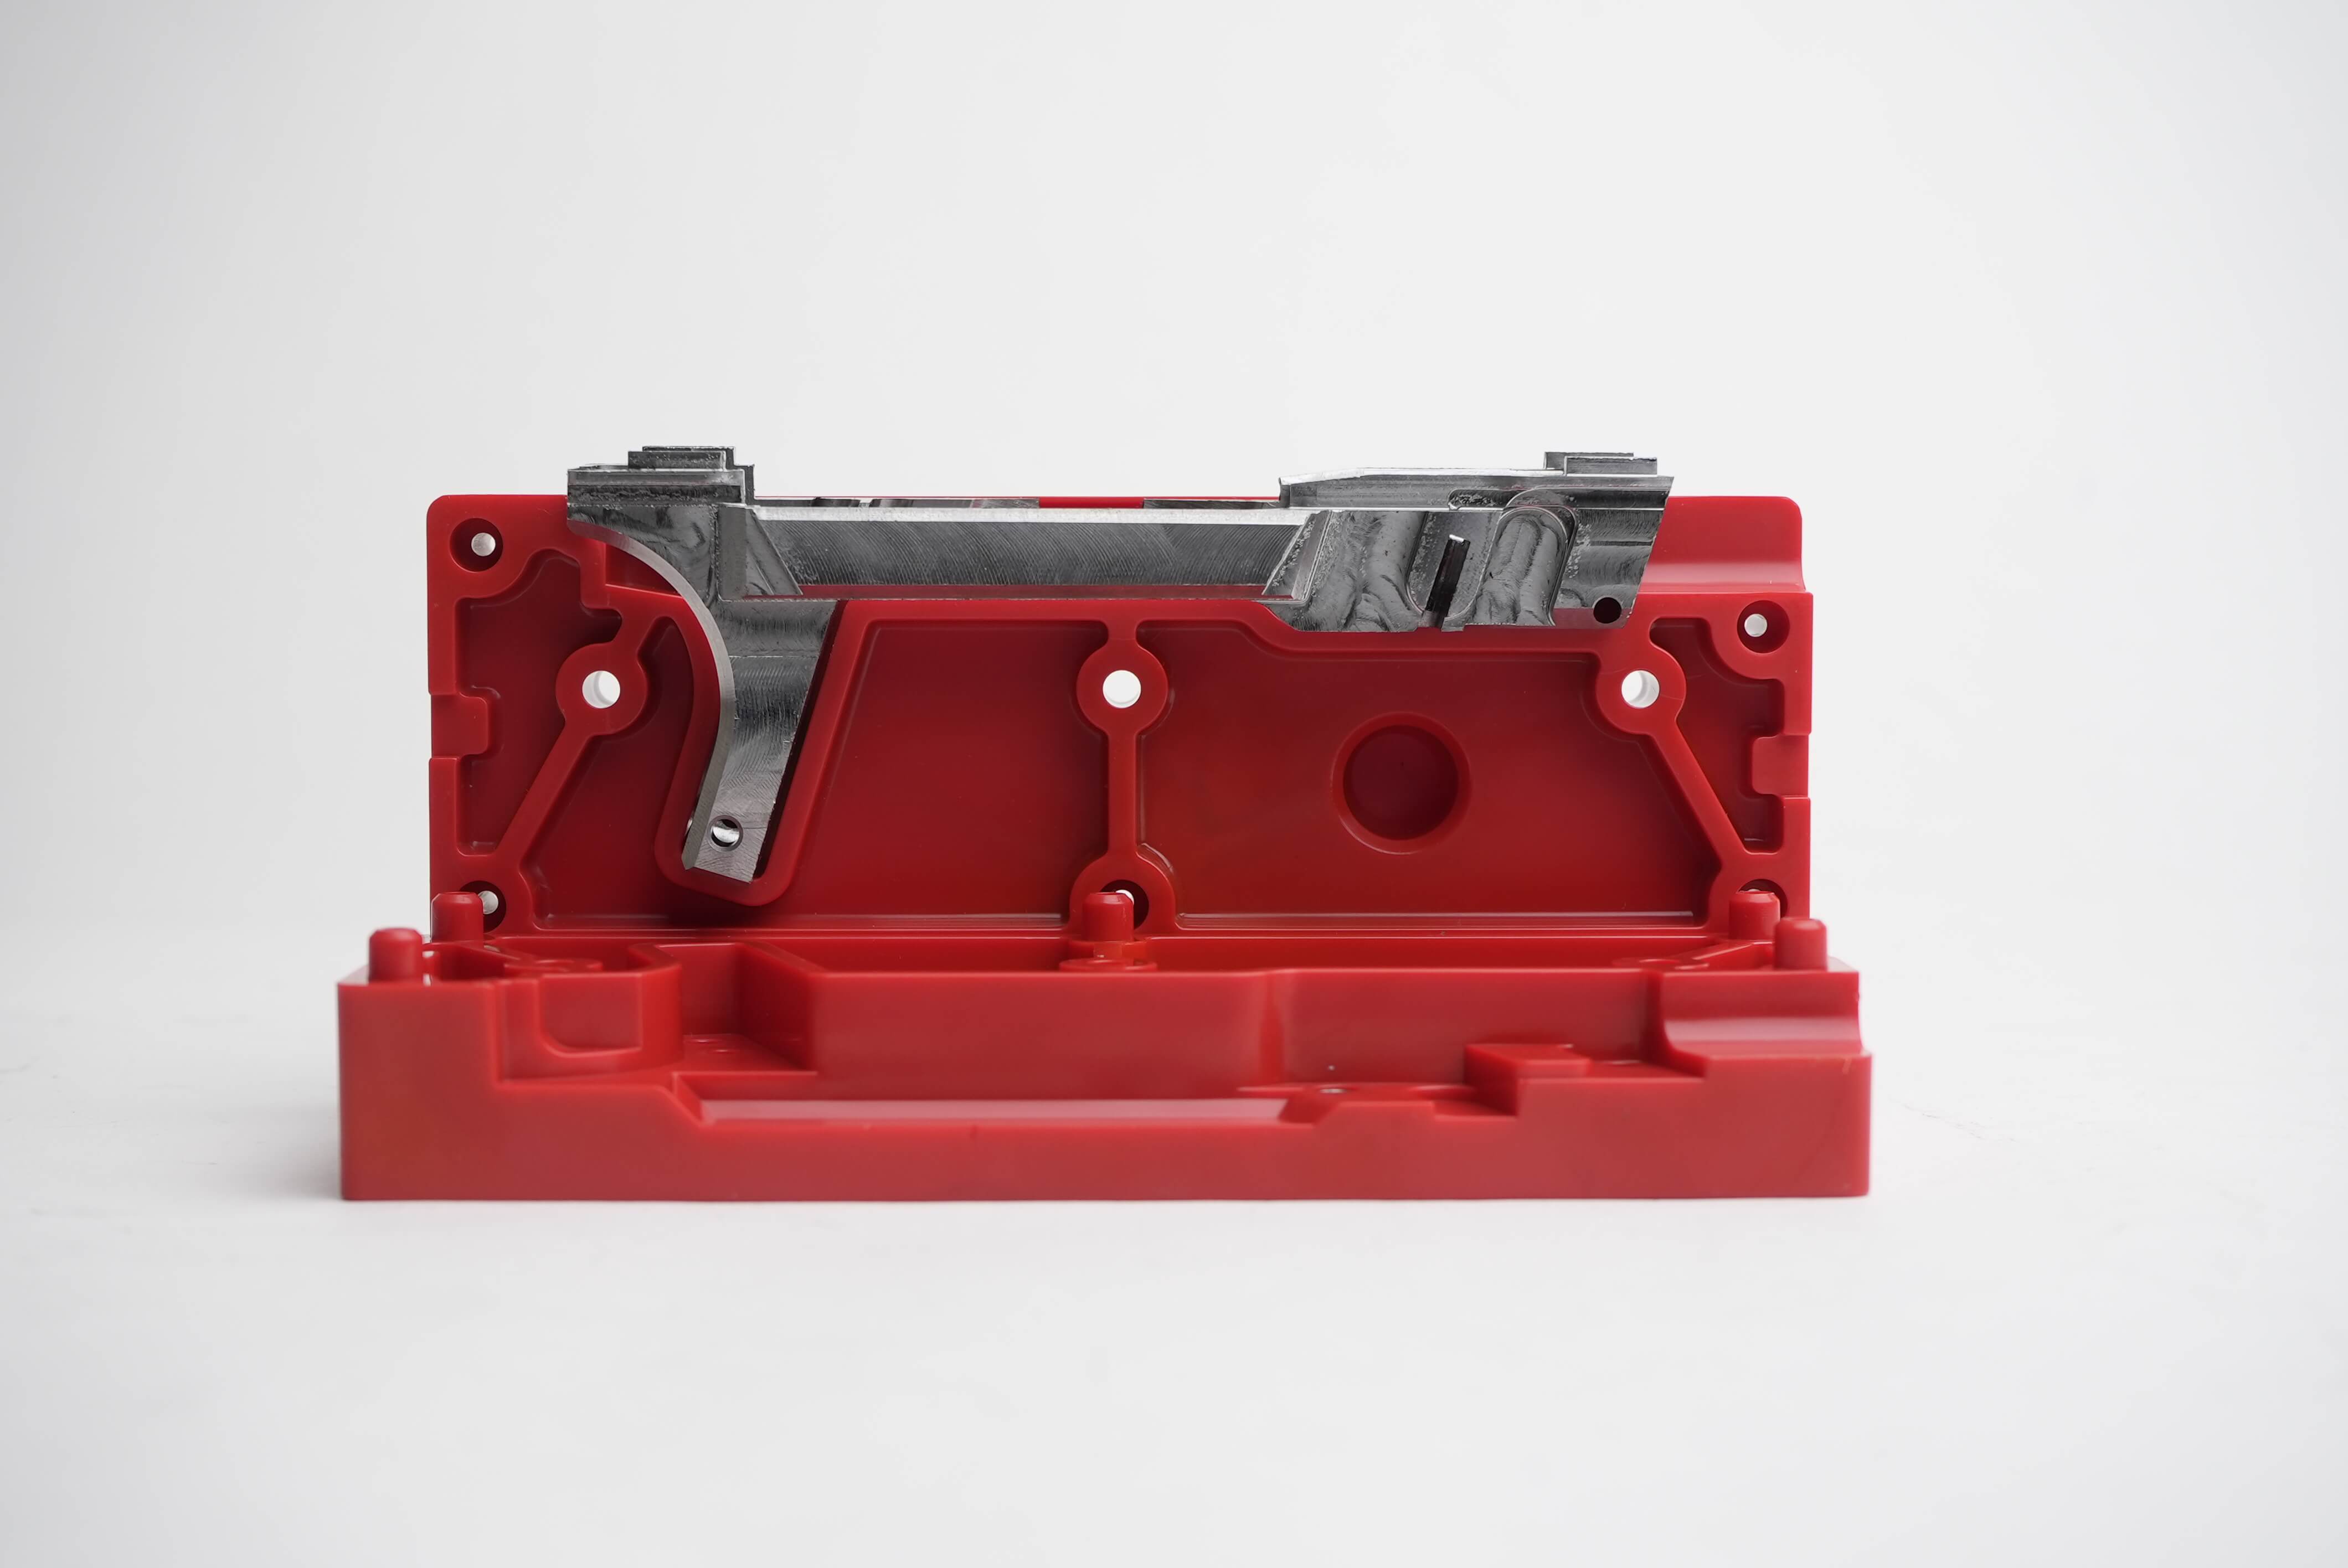
Receiver seated in one body. Pins go through the receiver’s pre-drilled holes before the second body goes on.
03
Prepare the rotary tool
Swap the factory collet in your rotary tool for the 3mm collet from the kit.
Insert the grinding drum. Leave about 1/4 to 1/2 inch of shank exposed past the end of the collet.
Tighten the collet until the drum will not walk out under load.
04
Take down the rail blocking tabs
Eye and ear protection on. Set the rotary tool to its high speed setting.
Turn the tool on and move it slowly back and forth over the top of one rail blocking tab.
Take the tab down until it is nearly flush with the rails.
Finish with light passes until the surface is flush. A bare finger run across the rails should not feel a protrusion where the tab was.
Repeat on the other three rail blocking tabs.
05
Take down the trigger housing tab
Keep the grinding drum. Approach the tab from its left side and keep the tool off the right wall of the receiver.
Take the bulk of the tab down with the drum.
When little material remains, switch to the grinding cone.
Bring the surface flush to the left wall with the cone.
06
Take down the recoil spring tab
This tab is the U-shape at the front of the receiver.
Switch back to the grinding drum for the bulk of the material.
Approach from the top of the U and work down toward the bottom of the receiver. A light front-to-back motion brings the tab down.
Near the bottom, switch to the grinding cone and take the surface flush.
07
Drill the pin holes
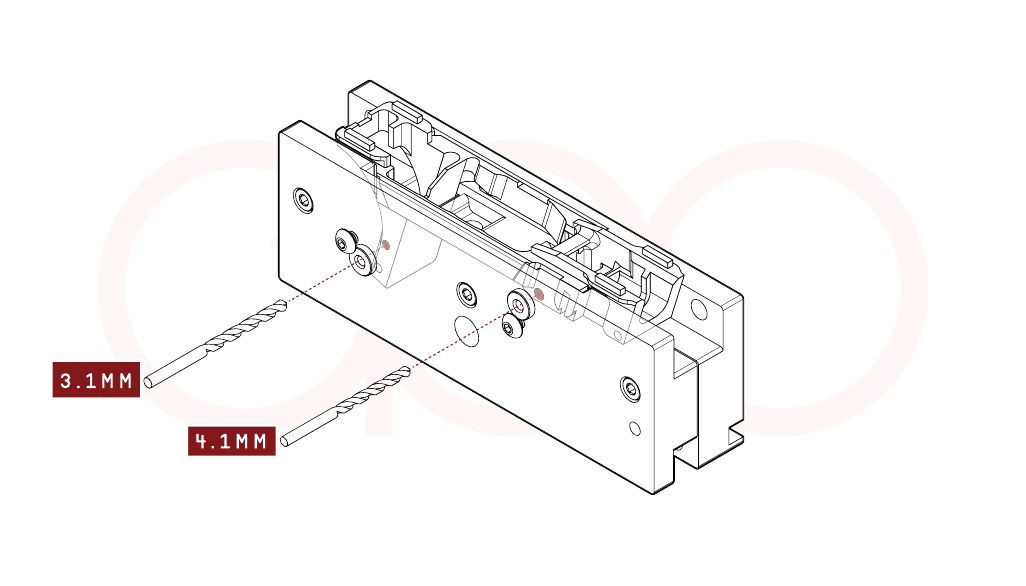
The bushings are marked on the jig. Use the bit that matches the marking. Do the #21 holes first, then the #31 holes.
Install the #21 bit. Seat the smooth shank deep in the chuck. Do not put any of the cutting flutes in the chuck.
Tighten the chuck until the bit will not walk. Set the drill to a medium torque setting. Keep lubricant next to the jig.
Set the jig with one side facing up. Put the bit in the #21 bushing. Add a few drops of lubricant.
Turn the drill on and apply light to moderate pressure. If you see smoke or hear the bit squeal, stop and add lubricant.
When the bit drops through the completed hole, stop. Reverse the drill and run it to back the bit out. That also clears burrs.
Flip the jig and repeat in the #21 bushing on the other side.
Remove the #21 bit and install the #31 bit the same way: shank only, chuck tight.
Lubricate the #31 bushing and drill it the same way, light vertical pressure, until the bit falls through. Reverse to extract.
Flip the jig and finish the last #31 hole.
08
Remove the receiver
Use the Allen key to remove the three screws. Take one screw all the way out before you start the next.
Wiggle the left and right jig bodies apart.
The receiver should drop free. The dowel pins may come out with the receiver instead of staying in the jig. If they do, pull them out of the receiver.
09
Final checks
Wipe the receiver down with a rag and some lubricant. Use fine grit sandpaper on any burrs left by drilling.
Test fit the slide without the barrel and recoil spring. The slide should run freely over the rails.
If you feel drag, set the receiver upside down on the sandpaper and move it in a circle to knock down remaining burrs. Test the slide again. It should travel fully to the rear and return to battery.
Install the barrel and recoil spring in the slide and repeat the test. The recoil spring must fully compress and expand without catching. That confirms the recoil spring channel is clear.
If the receiver passes those tests, it is ready for the frame parts kit of your choice and a grip module.
Questions
The collet is the sleeve inside the rotary tool’s nose that grips the shank of the bit. Rotary tools usually ship with one sized for a 1/8 inch shank. The grinding drum and cone in this kit have a 3mm shank, which that collet cannot hold squarely, so a 3mm collet is in the box. Fitting it is step 03, and it matters: a shank the collet does not grip properly will walk out under load.
Any gun oil or CLP, a dedicated drill and tap lubricant, or WD-40. What matters is keeping the bit wet while it cuts. If you see smoke or hear the bit squeal, stop and add more.
They hold the receiver in place inside the jig and stop it walking while you cut and drill. They go into the receiver’s pre-drilled holes in step 02, before the second jig body goes on.
Move front to back in single passes, working with the direction the drum is turning rather than pushing against it. It is not required, but it usually gives the best result.
No. This is a hand-tool jig. A variable speed, reversible hand drill and a rotary tool are what every step here is written around.
Reverse the tool to back the bit out, then push the bushing back into the jig and tap it home with an armorer’s hammer until it seats securely.
Reversing walks the bit out under power rather than dragging it back through the hole, and it clears the burrs on the way.
Set the receiver upside down on fine grit sandpaper and move it in a circle to knock down the burrs that are left, then test the slide again. It should travel fully to the rear and return to battery.
A Glock OEM or aftermarket G19 Gen 3 frame parts kit and slide kit, plus a grip module.
G80 products are not currently available to persons outside the United States and are not available to residents of and persons in the states of New Jersey and California.

![G80 Build Kit [Polymer]](https://g80dotcom.s3.us-east-2.amazonaws.com/wp-content/uploads/2026/08/1781084590604-792s91kjugk-7-275x206.png)
![G80 Next Build Kit [Receiver + Grip]](https://g80dotcom.s3.us-east-2.amazonaws.com/wp-content/uploads/2026/08/g80-receiver-grip-kit-275x230.png)